Then measure the pony-tail holders from end to end by stretching lightly. Dec 30 2018 - I recently pinned a DIY Ribbon Headband Holder that someone had made and was selling on.
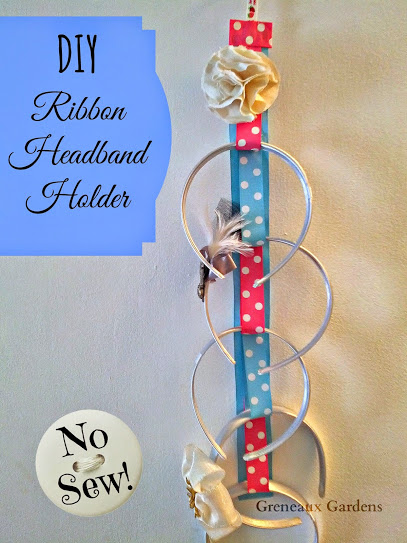
Diy Ribbon Headband Holder Tutorial No Sew Greneaux Gardens
Glue onto the front of the wide ribbon but leave the back loop free.

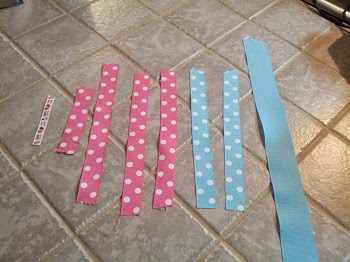
. Interlace the two pony-tail holders as shown in the pictures. Fold the end down approx 14. 34 inches of wide 1 12 inch ribbon 54 inches of narrower 78 inch ribbon I left mine on the spool to make sure that I had enough 3 inches of narrow 34 inch ribbon Straight Pins Sewing Gauge Sewing machine and tools all measurements are for my 33 12 inch long holder with 10 loops that are the perfect size for skinny headbands.
Preparing your Giant Daisy ensure all petal layers are attached to each other with hot glue. I sew back and forth several times so that its secure. Also cut two of the same size from your felt.
Tie a single length of ribbon around each end of your holder. Drill holes where you marked. Flip the base ribbon over and glue each side.
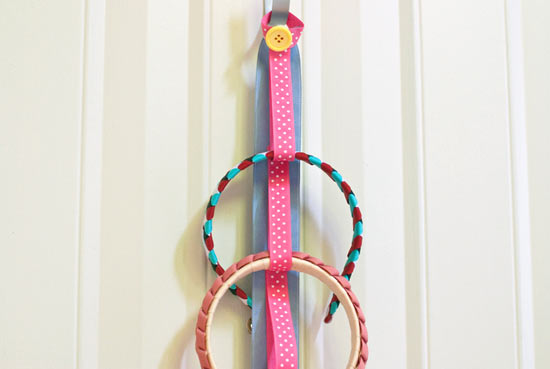
Place a pin in the top ribbon only to mark the 3 inch spot. Supplies for Headband Holder 1. Put the ribbon through the D ring and fold it over.
Cut 3-5 pieces of organza into rough flower shapes There is no science to it. Add about ½ of glue make your loop and then press down the ½ glue section butted up against were ribbon is already glued to the under layer of ribbon creating your loop for headbands. Glue the 4 piece of 1 wide ribbon lengthwise across the top of the base ribbon but slightly above the top edge.
Free tutorial with pictures on how to make a hair accessory in under 10 minutes by jewelrymaking with ribbon fabric glue and clips. Glue your ribbon strips in between the tulle bundles. Cut your wider ribbon to 30 long or longer if desired.
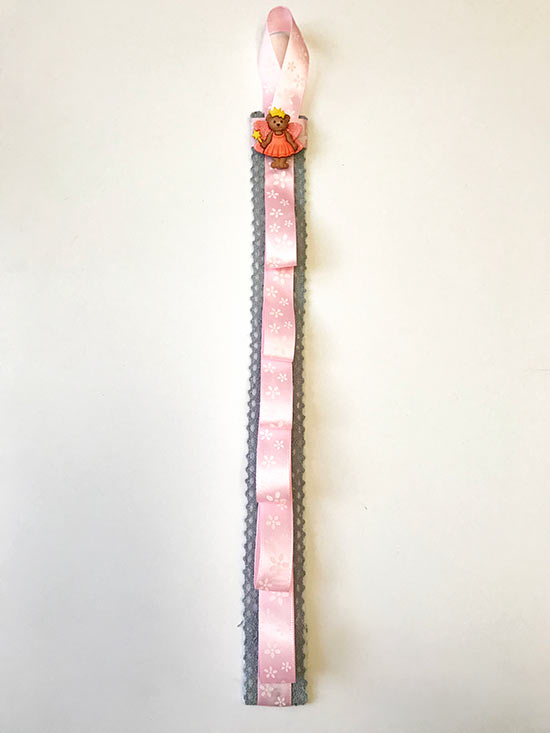
Glue a coordinating piece of ribbon at the top of the bodice as a hanger for the hair accessory holder. Glue the 14 ribbon into a loop and then glue it to the top front of the ribbon. 9 12x 16 Piece of Batting I used high loft 15x19 piece of Fabric.
A length of ribbon measured for your head size mine was roughly 18 Instructions. Learn how to make this beautiful and easy woven ribbon headband that works with both 38 and 58 width ribbons. Fold the ribbon under 1 12 inches and pin to the base layer.
Heat seal the end of the ribbon. This will help all of the loops be the same length. Repeat these steps the full length of the under layer of ribbon.
It didnt take long for me to create my own version and it was so simple that I cant wait to share it with. You need to cut 2 pieces from your main fabric and 2 pieces from your coordinating each about 12 inches by 2 14 inches. Have fun making organza flowers using Reese Dixons tutorial found here.
Cut at least one yard of ribbon and put fray check or clear nail polish on the cut ends so the ribbon doesnt fray. Put right sides of your two fabrics together and the piece of felt outside them. This is a great tutorial for beginners.
Create the headband holders by gluing or sewing loops into a strip of ribbon as below. Immediately I knew I had to make some to give as gifts to nieces etc. Hold the edges of the organza over a candle the fabric will then melt and curl up to form petals.
Loop the narrower ribbon around the top of the wider ribbon and overlap the edges of the narrower ribbon slightly. Cut your narrower ribbon to 4 long. A basic cute must have hair accessorie.
I dont think so. 1 12 yard fabric Ribbon Thread that matches the ribbon Magnetic snaps I found purple to match Two big buttons that match your ribbon I started by wrapping the fabric around the pillow roll to get the size that I needed and then I cut and began pinning. Cover with a thick piece of ribbon to cover the glued tulle and ribbon tops.
For this Headband holder I left the oatmeal in the cylinder and the lid sealed. Stitch down each side of the strap leaving both ends open. Dec 30 2018 - I recently pinned a DIY Ribbon Headband Holder that someone had made and was selling on etsy for 20.
How To posted by riahmØtley. Use the 3 inch marking pin to know where your loop should end. This is the part that got a little hack-y.
Coat with a bead of seam sealant on each short end. Pin the skinnier ribbon to the wide ribbon at the top and measure down 3 inches. Screw your cup hooks into the holes.
Sewing machine or needle and thread Embellishment or coordinating ribbon Hot Glue gun To start you will need to attach your D ring to the ribbon. Sew across the ribbon. DIY Ribbon Headband Holder Tutorial No Sew Greneaux.
It might hang better if you screw an eye at the top.

Ribbon Headband Holder These Would Be So Easy To Make Perfect For Hair Bows Too Crafts With Pictures Fabulous Diy Ribbon Headbands
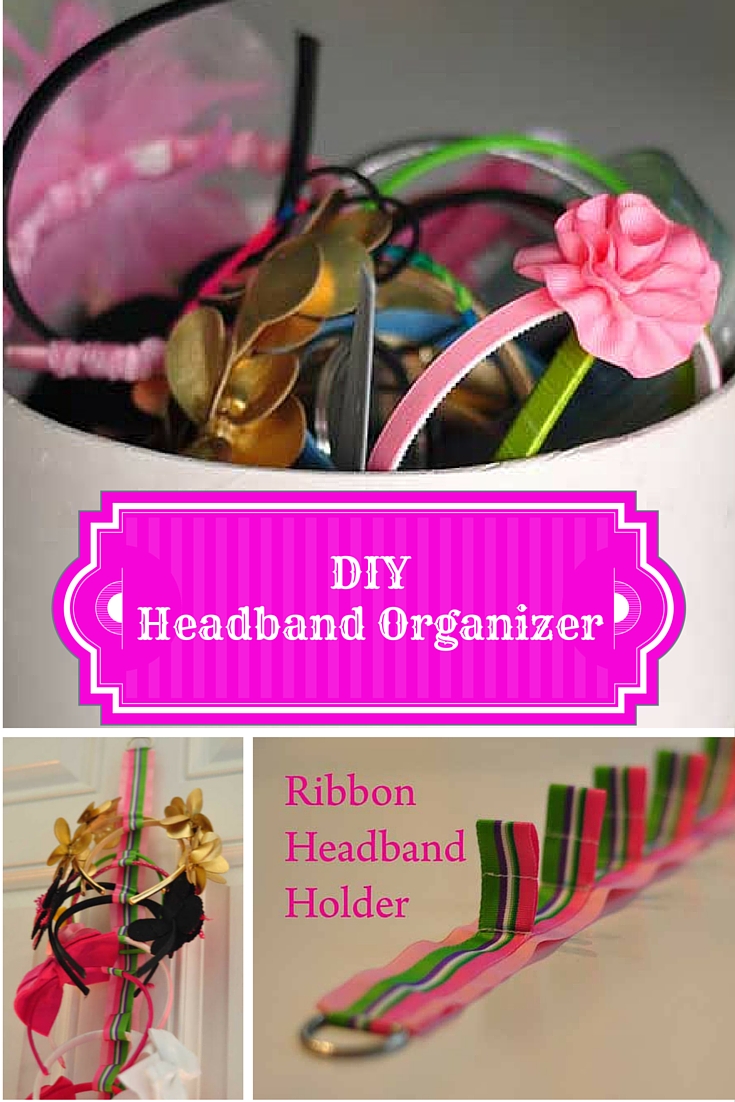
Simple Diy Headband Organizer

Diy Ribbon Headband Organizer Tutorial Organizing Hair Accessories Headband Organizer Diy Headband
How To Make A Ribbon Headband Holder Factory Direct Craft Blog

Buttons And Ribbons Blog Hop Diy Headband Organizer Laura K Bray Designs
Diy Ribbon Headband Holder And Organizer Factory Direct Craft Blog
Diy Ribbon Headband Holder Tutorial No Sew Greneaux Gardens

Buttons And Ribbons Blog Hop Diy Headband Organizer Laura K Bray Designs
0 comments
Post a Comment